Instructions
- Preheat the oven and prepare baking trays: Preheat your oven to 350°F (175°C). Line two large baking sheets with parchment paper or silicone baking mats to ensure the cakes release cleanly after baking.
- Combine dry ingredients: In a medium bowl, sift together the all-purpose flour, cocoa powder, baking soda, and salt. Whisk to combine evenly and set aside. Sifting prevents lumps and ensures the cocoa powder is evenly distributed.
- Cream butter and sugars: In a large mixing bowl, beat the softened butter with the granulated and brown sugars using an electric mixer on medium speed until the mixture is light, fluffy, and pale in color — about 2–3 minutes. This step incorporates air for a softer, cakier texture.
- Add egg and vanilla: Beat in the egg and vanilla extract until smooth and fully incorporated. Scrape down the sides of the bowl as needed to ensure an even mix.
- Incorporate buttermilk and food coloring: With the mixer on low speed, add the buttermilk and red food coloring. Mix just until blended. Using gel coloring helps achieve a vibrant red hue without thinning the batter.
- Combine wet and dry ingredients: Gradually add the dry ingredient mixture to the wet ingredients, beating on low speed until just combined. Do not overmix; stop as soon as no streaks of flour remain to maintain tenderness in the final cake layers.
- Pipe or scoop batter: Transfer the batter to a piping bag fitted with a round tip (or use a small cookie scoop). Pipe 2-inch diameter circles onto the prepared trays, spacing them at least 2 inches apart. For a festive wreath shape, pipe a smaller circle inside each large circle, leaving a hole in the center. Alternatively, create solid rounds and cut centers out after baking.
- Bake: Bake for 10–12 minutes, or until the tops are set and spring back lightly when touched. The edges should remain soft and not browned. Rotate trays halfway through baking for even results.
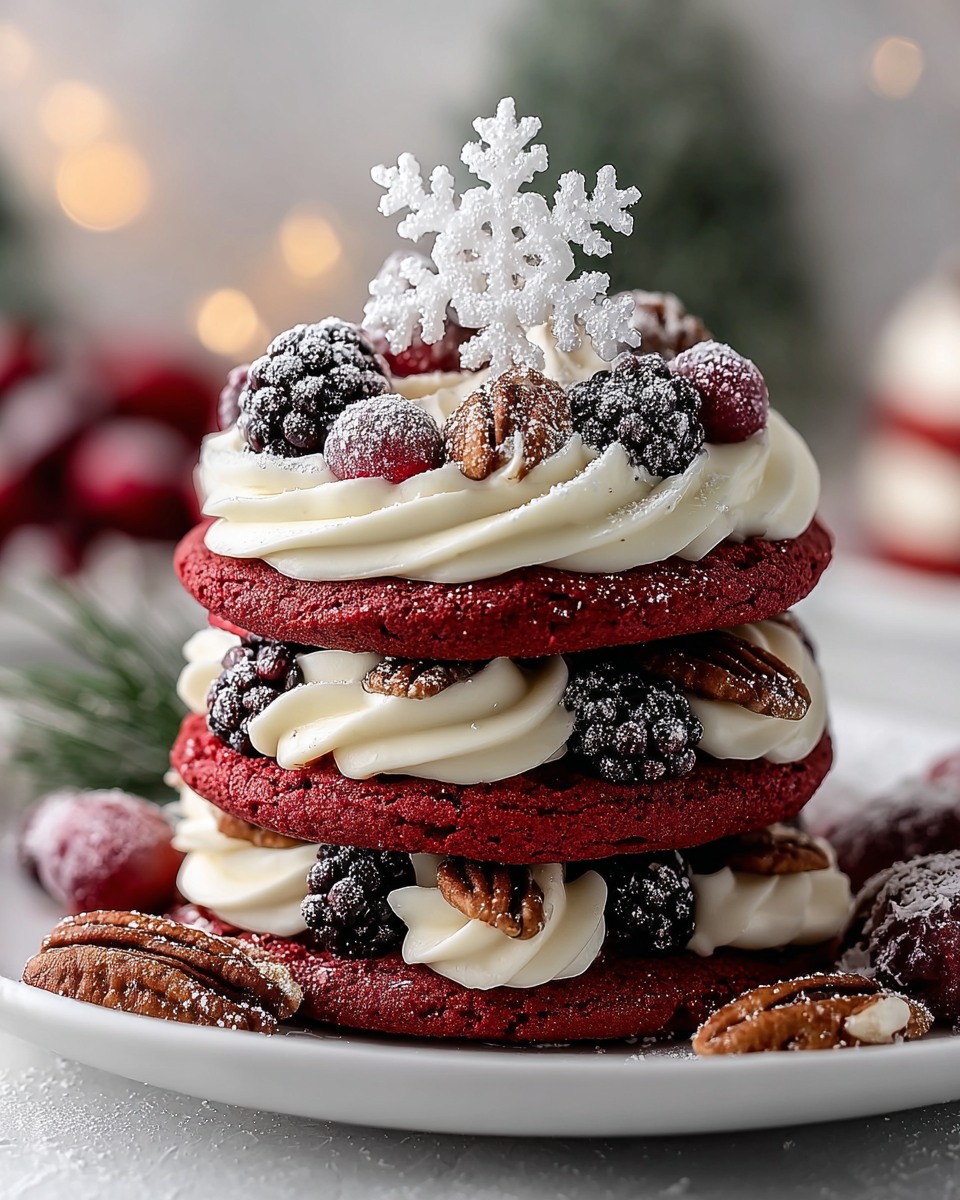
- Cool completely: Let the cakes rest on the baking sheet for 5 minutes, then gently transfer to a wire rack to cool fully before assembling. This prevents the frosting from melting during assembly.
Make the Cream Cheese Frosting
See more on the next page
Advertisement
